DIY Halloween Window Silhouettes: Easy and Spooky
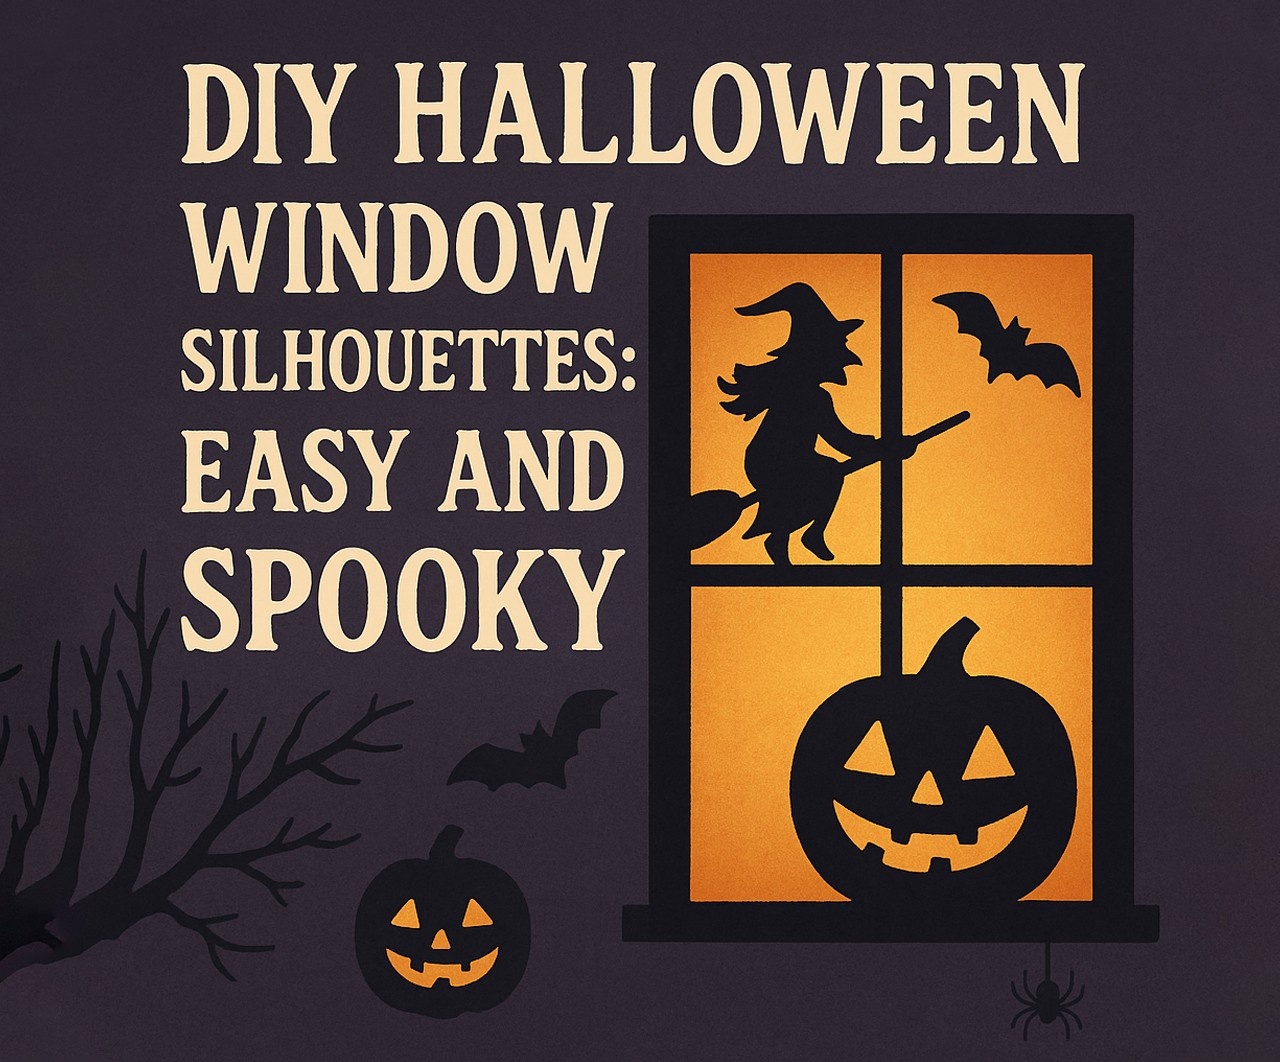
Halloween is the perfect time to transform your home into a spooky spectacle, and one of the easiest ways to do this is with Halloween DIY window silhouettes. These eerie decorations add an extra fright factor without breaking the bank. Whether you’re creating a haunted house theme or just want a touch of festive fun, window silhouettes are a fantastic option. While some might focus on a DIY Halloween costume or even a scarecrow costume DIY, we’re diving into the world of shadowy illusions that will make your home the talk of the neighborhood. Know more..
Why Choose Window Silhouettes for Halloween?
Window silhouettes are an effortless yet highly effective way to decorate for Halloween. Here’s why they’re a must-have:
- Budget-friendly: Made from basic materials like black paper or cardboard.
- Easy to make: No artistic expertise required—just cut and tape!
- Recyclable: Store and reuse them next year.
- Customizable: You can create any spooky design you want.
Materials Needed
Before you begin, gather these simple materials:
- Black cardstock, poster board, or construction paper
- Scissors or an X-Acto knife
- Tape or removable adhesive
- White chalk or a pencil for tracing
- Printable stencil templates (optional)
- String lights or a lamp for backlighting
Step-by-Step Guide to Creating DIY Halloween Window Silhouettes
Step 1: Choose Your Spooky Designs
Decide on the Halloween theme you want to create. Some popular silhouette ideas include:
- Classic Monsters: Bats, witches, black cats, and ghosts
- Haunted Scenes: Creepy trees, graveyards, and ghouls
- Movie-Inspired Designs: Shadowy figures like zombies or famous horror characters
Step 2: Create Your Stencils
If you’re comfortable drawing freehand, use chalk or a white pencil to outline your designs directly on black cardstock. Otherwise, print out templates and trace around them.
Step 3: Cut Out the Silhouettes
Carefully cut out the designs using scissors or an X-Acto knife for precision. Make sure to cut clean edges to enhance the effect.
Step 4: Arrange and Secure the Silhouettes
Place the cutouts on your windows and arrange them into eerie scenes. Tape them securely with double-sided tape or removable adhesive so they stay in place but don’t damage the glass.
Step 5: Add Backlighting for Maximum Effect
To enhance the spooky effect, place a lamp or string lights behind the silhouettes. This will create bold, dramatic shadows visible from the outside.
Popular Halloween Silhouette Ideas
If you need inspiration, here are some easy yet creepy silhouette themes to try:
1. Creepy Crawly Spiders
Cut out large spider shapes and position them as if they are climbing up your window. Pair them with spiderweb designs for an extra eerie touch.
2. Haunted House Scene
Create a complete haunted house look by adding cutouts of tombstones, eerie trees, and ghosts floating through the air.
3. Witch’s Lair
A flying witch on a broomstick paired with bubbling cauldrons and potion bottles makes for a magical Halloween display.
4. Classic Monsters
Add silhouettes of famous Halloween figures like Frankenstein, Dracula, or a werewolf to bring your window to life.
5. Zombies and Shadows
A group of eerie shadowy figures resembling zombies pressing against the window can create a terrifying effect.
6. Sinister Clown Faces
For an ultra-creepy effect, cut out eerie clown faces with exaggerated eyes and mouths and place them strategically on different windows.
7. Howling Wolves
Silhouettes of wolves howling at the moon can add an extra haunting touch to your Halloween decor.
8. Floating Candles
Cut out candle shapes with flickering flames and stick them along your windows to create an enchanted, spooky look.
Extra Tips for Spookier Window Silhouettes
- Layering Silhouettes: Place some cutouts closer to the window and others slightly farther back to add depth.
- Adding Texture: Use translucent materials like wax paper behind some silhouettes for a ghostly glow.
- Interactive Windows: Create a peeking monster or hands reaching from behind the curtains to surprise passersby.
- Use Different Light Sources: Try using different colored bulbs, such as orange or purple, to create an even spookier ambiance.
- Create Movement: Attach some silhouettes to strings so they sway slightly when the window is opened, creating a creepy motion effect.
Beyond Windows: Expanding Your Halloween DIY Decor
Once you’ve mastered window silhouettes, why not take your Halloween DIY decor even further?
DIY Halloween Costume Ideas
If you’re already in the crafting spirit, consider making your own DIY Halloween costume. From simple ghost costumes to elaborate witch outfits, homemade costumes add a personal touch to your Halloween celebrations.
Scarecrow Costume DIY
A scarecrow costume DIY project is another fun way to get involved in the Halloween spirit. Using old clothes, some straw, and a little face paint, you can easily craft a spooky or friendly scarecrow outfit for yourself or your kids.
Halloween-Themed Yard Decor
Extend your silhouettes to your porch or lawn by making large cutouts for outdoor use. You can place them near your doorstep or along your driveway for an added eerie effect.
Glow-in-the-Dark Effects
Consider painting parts of your silhouettes with glow-in-the-dark paint for a night-time surprise when trick-or-treaters pass by your house.
Sound Effects for Added Spookiness
Enhance your decorations by adding a hidden speaker near your windows playing eerie sounds like whispers, ghostly moans, or distant howling.
Conclusion
Creating Halloween DIY window silhouettes is a simple and cost-effective way to set the stage for a spooky celebration. Unlike purchasing store-bought decorations, making your own gives you the flexibility to customize your designs, reuse them year after year, and fully embrace the Halloween spirit. Whether you prefer classic monsters, haunted house scenes, or eerie shadow figures, the possibilities are endless. Plus, by complementing your decor with a DIY Halloween costume or a scarecrow costume DIY, you’ll be ready to impress your trick-or-treaters and guests alike. Add some eerie lighting, interactive elements, and sound effects for the ultimate Halloween experience.
So grab your scissors, fire up your imagination, and start crafting your spookiest Halloween window silhouettes yet! Happy Haunting!
Ready to get started? Share your spooky window silhouette creations with us!