Fun Halloween Pumpkin Painting Ideas
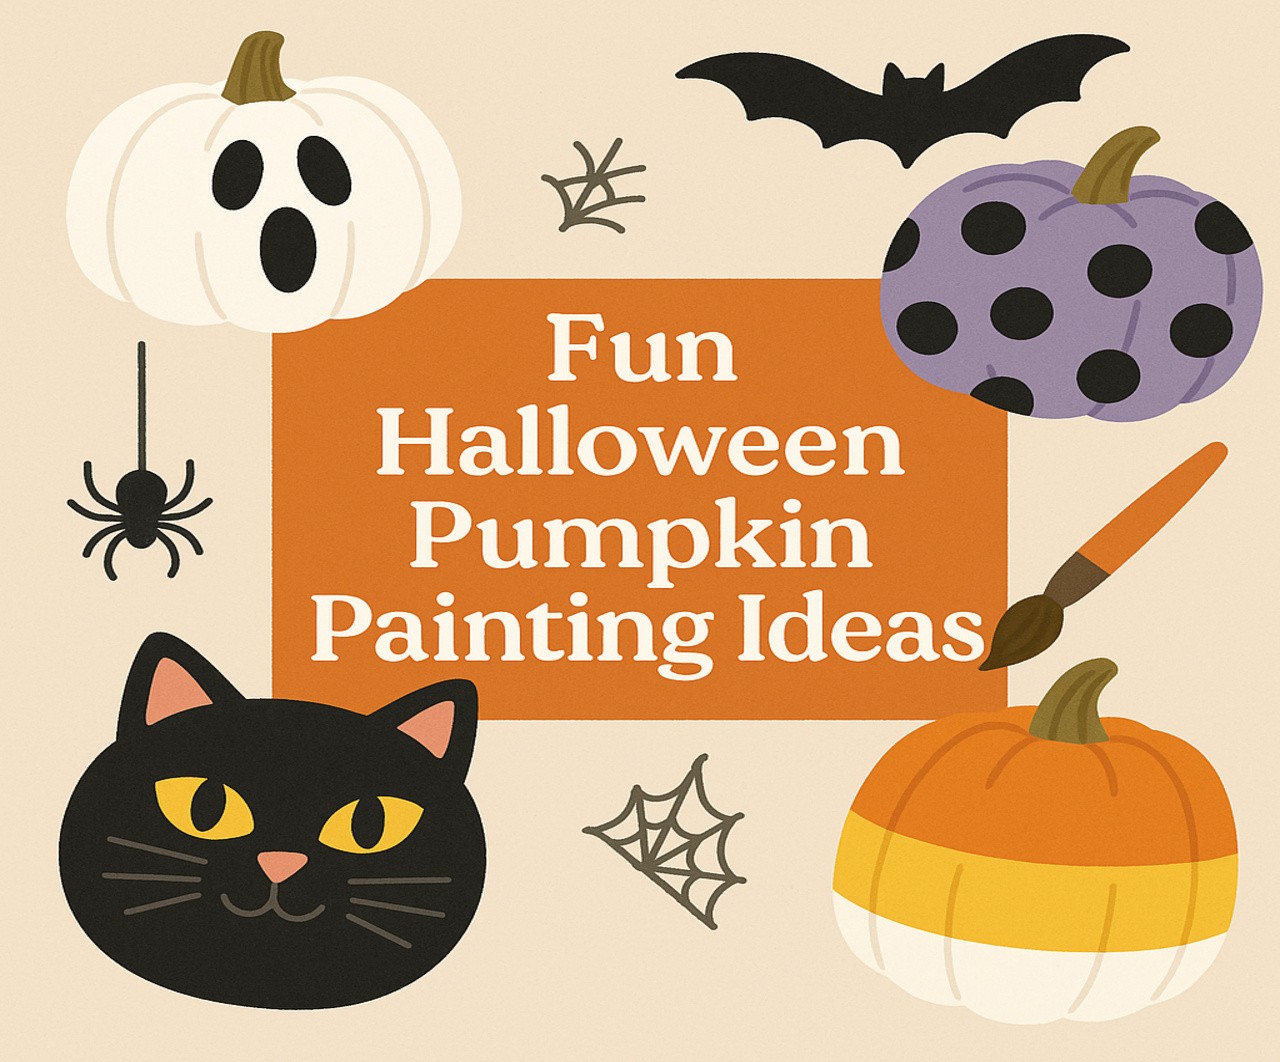
Painting pumpkins is a fantastic alternative to traditional carving, offering endless creative possibilities while keeping things safe and mess-free. Whether you’re using craft pumpkins, experimenting with new pumpkin painting techniques, or looking for crafting pumpkins that last all season, painted pumpkins can add a vibrant and festive touch to your Halloween decor. If you’re eager to create some crafty pumpkins this Halloween, we’ve gathered some fun, easy, and creative pumpkin painting ideas to inspire you. Know more..
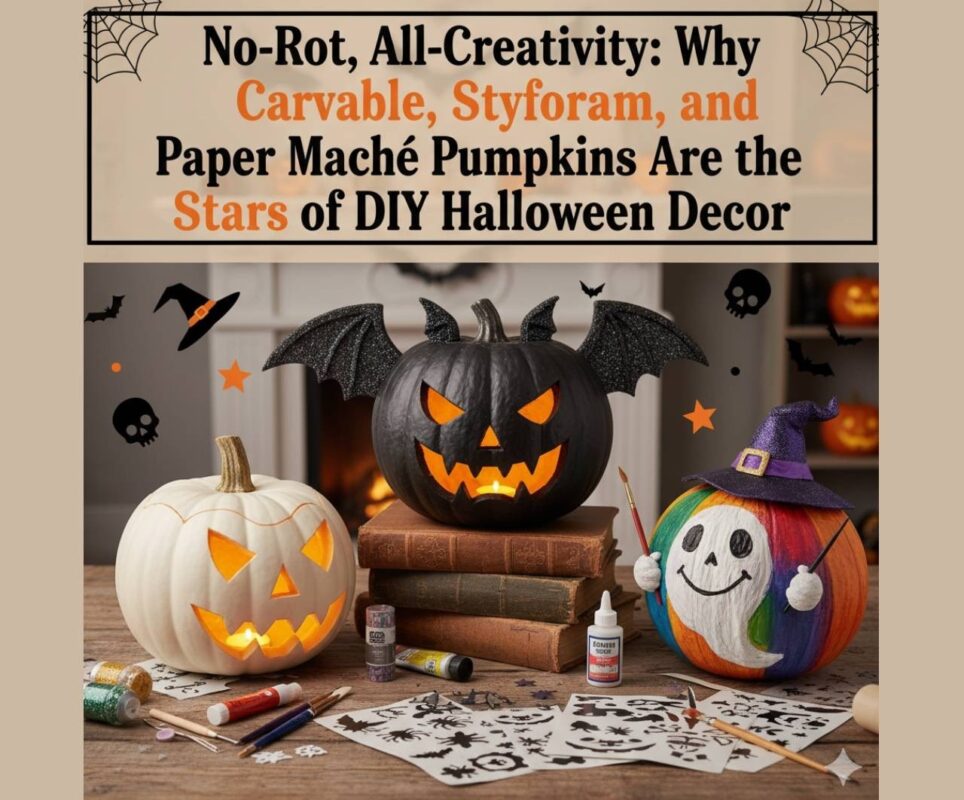
Why Choose Painted Pumpkins?
Carving pumpkins can be messy, time-consuming, and sometimes unsafe for younger kids. That’s where painted pumpkins come to the rescue! Using craft pumpkins instead of real ones also means your creations will last for years, making them a cost-effective and reusable decoration option. Whether you’re painting real pumpkins or crafting pumpkins from foam or plastic, painted designs give you flexibility and creative control.
Essential Supplies for Painting Pumpkins
Before diving into your pumpkin painting adventure, make sure you have the right supplies:
- Craft pumpkins (foam or plastic) or fresh pumpkins
- Acrylic paints or spray paints (waterproof and quick-drying)
- Paintbrushes of different sizes
- Painter’s tape for clean lines
- Sponges for texture effects
- Sealant to protect painted surfaces
- Stencils for intricate designs
- Glitter, stickers, and other embellishments for extra flair
Fun and Creative Pumpkin Painting Ideas
1. Glow-in-the-Dark Pumpkins
Take your Halloween decor to the next level by painting your craft pumpkins with glow-in-the-dark paint. These pumpkins will light up your porch or entryway and create a spooky ambiance when night falls.
How to Do It:
- Start with a clean, dry pumpkin.
- Apply a base coat of white paint to help the glow paint stand out.
- Paint 2-3 coats of glow-in-the-dark paint, allowing each layer to dry.
- Place them under a light source to “charge” the glow effect.
2. Marble Effect Pumpkins
Add an elegant twist to your Halloween decor with marble-effect crafting pumpkins. This technique is easy to achieve and looks stunning both indoors and outdoors.
How to Do It:
- Fill a plastic container with water and drizzle different shades of nail polish on the surface.
- Swirl the colors gently with a toothpick.
- Dip the pumpkin into the mixture, making sure the paint sticks to the surface.
- Let it dry completely before sealing.
3. Spooky Silhouettes
Create haunting scenes by painting spooky silhouettes on your crafty pumpkins. From bats and witches to haunted houses, this idea is both simple and effective.
How to Do It:
- Paint the pumpkin with a dark base color (like black or deep purple).
- Use stencils to trace your desired silhouette.
- Fill in the stencil with contrasting paint (such as white or orange).
4. Chalkboard Pumpkins
For a versatile and interactive option, consider chalkboard paint on your craft pumpkins. Kids can change the designs or write spooky messages throughout the season.
How to Do It:
- Apply 2-3 coats of chalkboard paint to cover the pumpkin.
- Let it dry completely.
- Use chalk to draw and erase as desired.
5. Candy Corn-Inspired Pumpkins
Capture the essence of Halloween by painting your crafting pumpkins with a candy corn color scheme. The gradient look is festive and eye-catching.
How to Do It:
- Paint the entire pumpkin white as a base.
- Divide the pumpkin into three sections.
- Paint the bottom section yellow and the middle section orange, leaving the top white.
6. Day of the Dead Sugar Skull Pumpkins
Add a vibrant cultural twist to your Halloween decor by painting crafty pumpkins with colorful sugar skull designs inspired by Dia de los Muertos.
How to Do It:
- Paint the pumpkin white as the base.
- Use bright colors and intricate patterns to create floral designs, dots, and decorative lines.
- Finish with black outlines to make the details pop.
7. Emoji Pumpkins
For a fun and modern twist, paint your craft pumpkins to look like popular emojis. Kids and teens will love this creative and playful idea.
How to Do It:
- Paint the pumpkin yellow as the base.
- Use black, white, and red paint to create various emoji faces.
8. Metallic Glam Pumpkins
If you want a more sophisticated Halloween look, go for metallic paint. Gold, silver, and copper tones add a touch of elegance to your crafting pumpkins.
How to Do It:
- Use metallic spray paint for an even coat.
- Add embellishments like rhinestones or glitter for extra sparkle.
9. Polka Dot and Striped Pumpkins
Polka dots and stripes can add a playful and whimsical element to your Halloween setup. They’re simple, stylish, and easy to create.
How to Do It:
- Use painter’s tape to create straight lines for stripes.
- For polka dots, use a sponge or round brush to apply paint evenly.
- Mix and match colors for a fun and vibrant look.
10. Galaxy Pumpkins
Bring the stars down to Earth by creating a galaxy-themed pumpkin that’s out of this world.
How to Do It:
- Start with a black base coat.
- Sponge on shades of blue, purple, and pink.
- Add white speckles to mimic stars.
Tips for Long-Lasting Painted Pumpkins
1. Seal Your Design
Whether using real or craft pumpkins, applying a clear sealant helps protect your designs from the elements, ensuring they last throughout the Halloween season.
2. Store Properly
If you’re using crafting pumpkins, you can reuse them year after year. Store them in a cool, dry place to prevent damage.
3. Use Waterproof Paint
Acrylic or spray paint is ideal for outdoor crafty pumpkins, as it’s more durable and weather-resistant.
Get Creative with Pumpkin Painting
Painting pumpkins is an enjoyable and creative way to celebrate Halloween. Whether you choose craft pumpkins that last for years, prefer crafting pumpkins with unique designs, or love making crafty pumpkins that reflect your personality, there’s no limit to what you can create. So gather your supplies, unleash your imagination, and start painting your way to a festive and colorful Halloween!