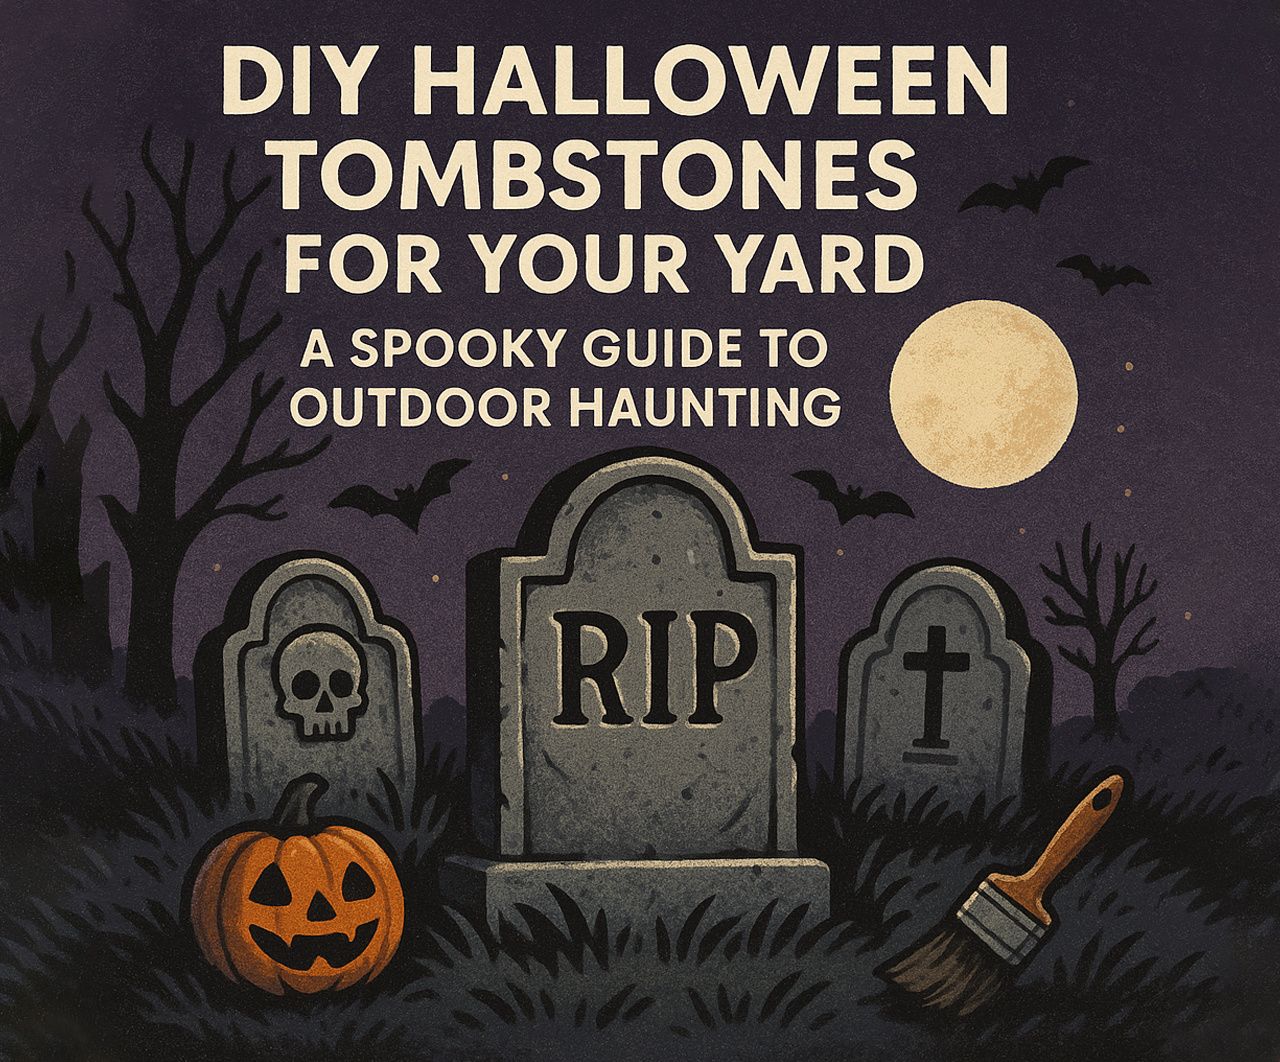
DIY Halloween Tombstones for Your Yard: A Spooky Guide to Outdoor Haunting
As Halloween approaches, many homeowners look for creative and budget-friendly ways to transform their yards into eerie graveyards. One of the best ways to achieve a spine-chilling look is by crafting Halloween yard tombstones. Whether you’re hosting a haunted house event or simply want to impress trick-or-treaters, making your own Halloween tombstones for yard setups is an easy and affordable DIY project. In this guide, we’ll walk you through the step-by-step process to create durable and weather-resistant outdoor Halloween tombstones that will turn your yard into a ghostly cemetery. Know more..
Why Make DIY Halloween Tombstones?
DIY Halloween yard tombstones allow for complete customization. Unlike store-bought tombstones that can be expensive and generic, homemade ones offer:
- Personalized Epitaphs – Add humor, horror, or references to your favorite movies.
- Unique Designs – Choose from classic gothic styles, weathered stones, or elaborate sculptures.
- Cost Savings – Use inexpensive materials while achieving a high-end look.
- Durability – Create outdoor Halloween tombstones that withstand weather conditions.
- Fun DIY Project – This is a great activity for the whole family, bringing creativity to life.
Materials Needed for DIY Halloween Tombstones
To craft realistic Halloween tombstones for yard, gather these materials:
- Foam Boards or Insulation Foam – Lightweight yet sturdy material.
- Utility Knife or Hot Wire Cutter – For shaping the tombstone.
- Acrylic Paints (Gray, Black, White, Green) – To give a weathered stone look.
- Paintbrushes and Sponges – For adding textures.
- Wooden Stakes or PVC Pipes – For securing the tombstone to the ground.
- Hot Glue or Gorilla Glue – To attach details and reinforce structure.
- Marker or Stencils – To sketch out designs.
- Sandpaper – To smooth edges and create an aged effect.
- Sealant (Optional) – To protect against moisture.
- Floral Foam or Styrofoam – Additional material to create depth in designs.
Step-by-Step Guide to Making DIY Halloween Tombstones
Step 1: Cut and Shape the Foam Board
- Sketch the outline of your Halloween yard tombstones onto the foam board. Popular shapes include rounded tops, crosses, or cracked stones.
- Use a utility knife or hot wire cutter to carve out the tombstone shape.
- Sand the edges lightly to create a worn look.
- For a more authentic appearance, add small chips or uneven cuts to the edges to make it look like real aged stone.
Step 2: Carve the Epitaphs and Designs
- Write out the epitaph using a marker or stencil. Classic phrases include:
- RIP Here Lies Jack O. Lantern
- Beware of the Undead
- Forever Haunting This Yard
- Eternal Rest of the Forgotten
- The Ghoul’s Graveyard
- Use a Dremel tool, hot knife, or carve with the knife to engrave the letters.
- Add decorative cracks or chips for a weathered appearance.
- For extra texture, use a ballpoint pen to etch details such as small skulls, bats, or cobwebs into the foam.
Step 3: Paint the Base Layer
- Mix gray and black acrylic paint to create a stone-like base color.
- Apply the base layer using a sponge for texture.
- Let the paint dry completely before adding details.
- Experiment with different paint finishes to create a variety of stone effects. Try using a dry brush technique with a mix of white and gray to add highlights and depth.
Step 4: Add Aging Effects
- Dry brush black paint into the engraved letters to make them stand out.
- Use white and green paint to create moss and mold effects.
- Sponge lighter gray or white over raised areas to enhance realism.
- Splatter a mix of black and brown paint to add dirt and age marks for an authentic, aged appearance.
Step 5: Secure the Tombstones
- Attach wooden stakes or PVC pipes to the back using hot glue.
- Drive the stakes into the ground to keep the outdoor Halloween tombstones standing.
- For added stability, use small rocks or bricks at the base of each tombstone to weigh them down in windy conditions.
Step 6: Apply a Sealant (Optional)
- For durability, spray a weatherproof sealant to protect against rain and wind.
- Allow it to dry for at least 24 hours before setting up in your yard.
- If you plan on using the tombstones for multiple years, apply an extra coat of sealant to increase longevity.
Spooky Additions to Enhance Your Halloween Cemetery
To elevate your Halloween tombstones for yard, consider adding:
- Fog Machines – Create an eerie mist around your graveyard.
- Skeleton Props – Have bony hands reaching out from the ground.
- Flickering LED Candles – Place them around tombstones for an ominous glow.
- Fake Spider Webs & Bats – Add extra creepy elements.
- Sound Effects – Play ghostly whispers or cemetery background noises.
- Motion-Activated Decorations – Surprise guests with animatronics like jumping spiders or wailing ghosts.
- Glowing Eyes in the Dark – Hide battery-operated LED lights behind bushes or tombstones for a spooky stare effect.
Tips for Making Realistic Halloween Tombstones
- Use Multiple Layers of Paint – Don’t rush the painting process; layering creates a more authentic look.
- Experiment with Texture – Try using crumpled paper towels, sponges, or salt for a more rugged effect.
- Create Cracked Effects – Use a heat gun or press lightly with a knife to simulate cracks.
- Choose a Variety of Shapes and Sizes – Mixing different heights and styles enhances the graveyard look.
- Weatherproof Properly – If using for multiple years, consider sealing with polyurethane.
- Incorporate Glow-in-the-Dark Paint – Highlight names or details so they subtly glow at night.
- Create a Themed Graveyard – Think about whether your tombstones should reflect a spooky haunted theme, a zombie apocalypse, or a more classic gothic cemetery look.
Storing Your DIY Halloween Tombstones
After Halloween, store your outdoor Halloween tombstones properly to use them again next year:
- Wipe them clean and let them dry.
- Wrap in plastic or a tarp to prevent dust and moisture.
- Store in a cool, dry place to avoid foam warping.
- If you have room, store them upright to prevent bending or cracking.
Final Thoughts
Creating your own Halloween yard tombstones is a fun, budget-friendly way to enhance your spooky decor. With a little creativity and some simple materials, you can design an impressive outdoor Halloween tombstones display that will leave neighbors and trick-or-treaters in awe. Get started now and make this Halloween the scariest yet!
Now that you know how to make Halloween tombstones for yard, what will your graveyard theme be this year? Share your ideas in the comments!